
HSC Ceramics™ Product Maintenance Guide
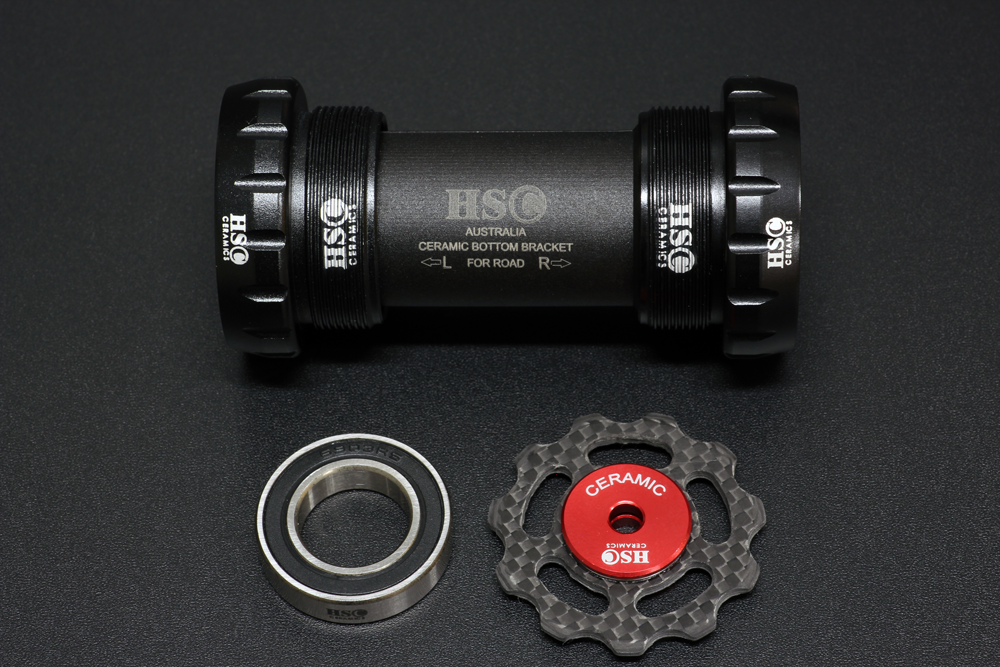
HSC Ceramics Bottom Brackets, Wheel Bearings and Jockey wheels should be checked every 5,000 km and if all the bearings spin smoothly, there is no need for a service or regreasing. However, if they are getting dirty and do not spin smoothly anymore, then maintenance is required.
Riding in high-humidity climates, sandy or constant rainy conditions may require more frequent checks and maintenance if necessary.
Preparation
Regular maintenance can be done without removing the bearings from the bottom bracket cups and hub shells. However, for jockey wheels, we recommend they are to be removed from the rear derailleur cages to access the bearings.
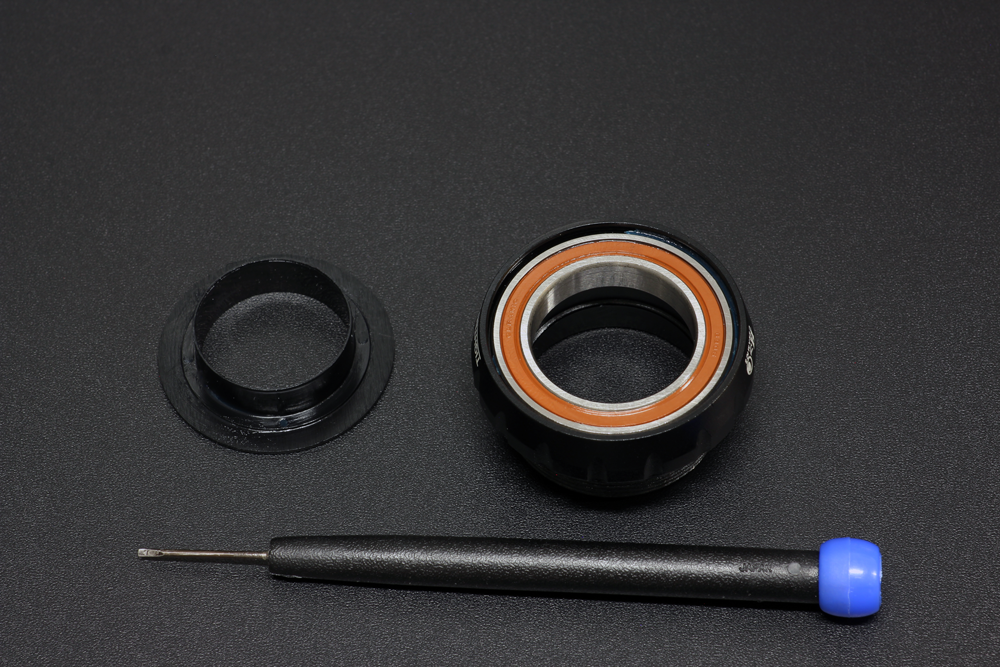
For bottom brackets, remove the cranks, any spacers, and dust covers, and clean and remove all dirt and grease outside of the products.
For hubs, follow the wheel manufacturer's instructions for removing the axle, end caps and dust covers to access the bearings.
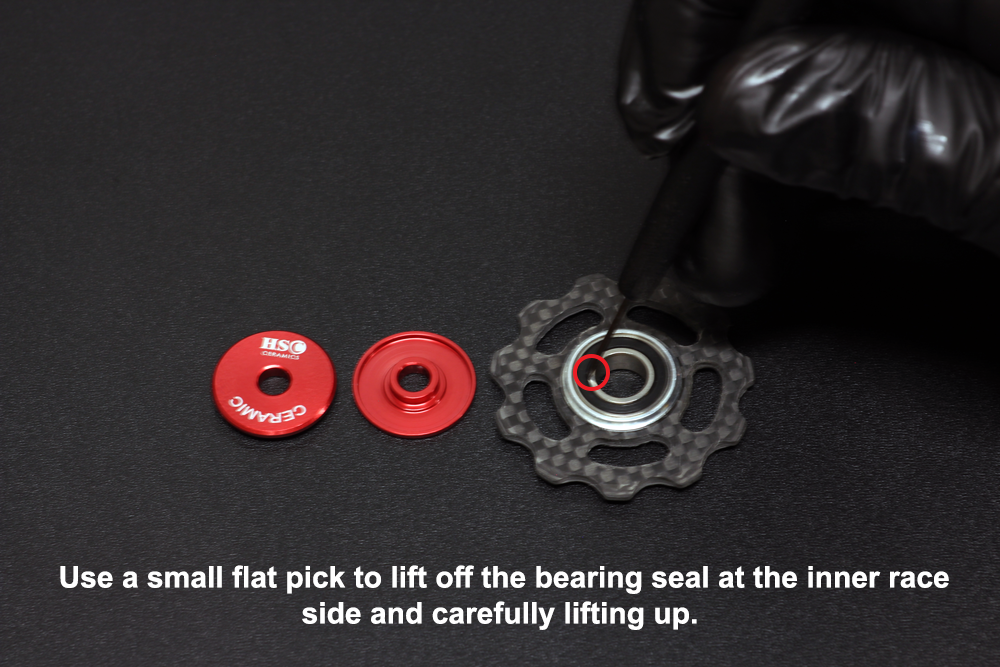
For jockey wheels, dismount the jockey wheels from the rear derailleur cages, and remove the metal dust covers.
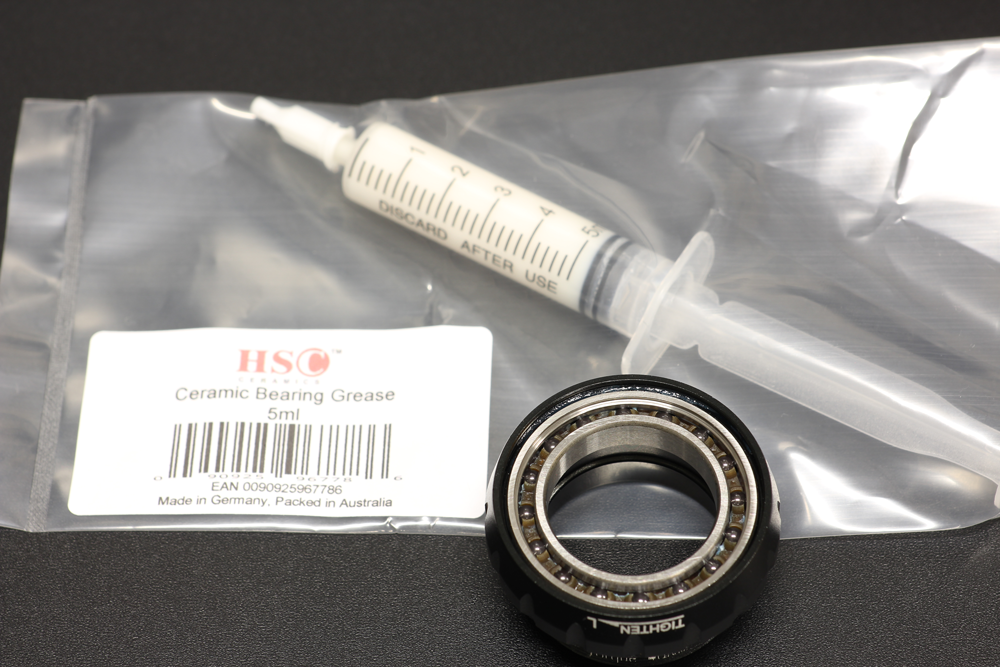
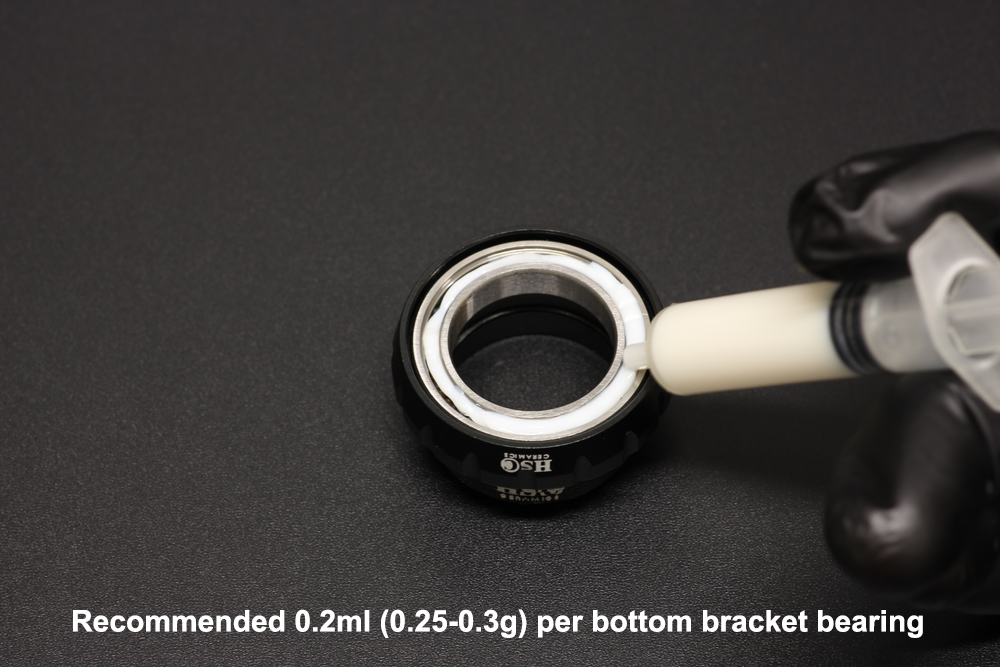
Get a tube of HSC Ceramic Bearing Grease.
Special Note for Pressfit Bottom Bracket Creaking
If you notice creaking noise developing from a pressfit bottom bracket, remove the bottom bracket from the frame and rotate it 90 degrees before reinstalling it into the frame shell. It is also recommended to apply a thin layer of HSC Anti-Creaking Grease on the bottom bracket caps and inside of the frame shell. This helps redistribute load across the bearing surfaces, prevents uneven wear in one area, and can eliminate creaking while extending the service life of the bottom bracket.
Cleaning
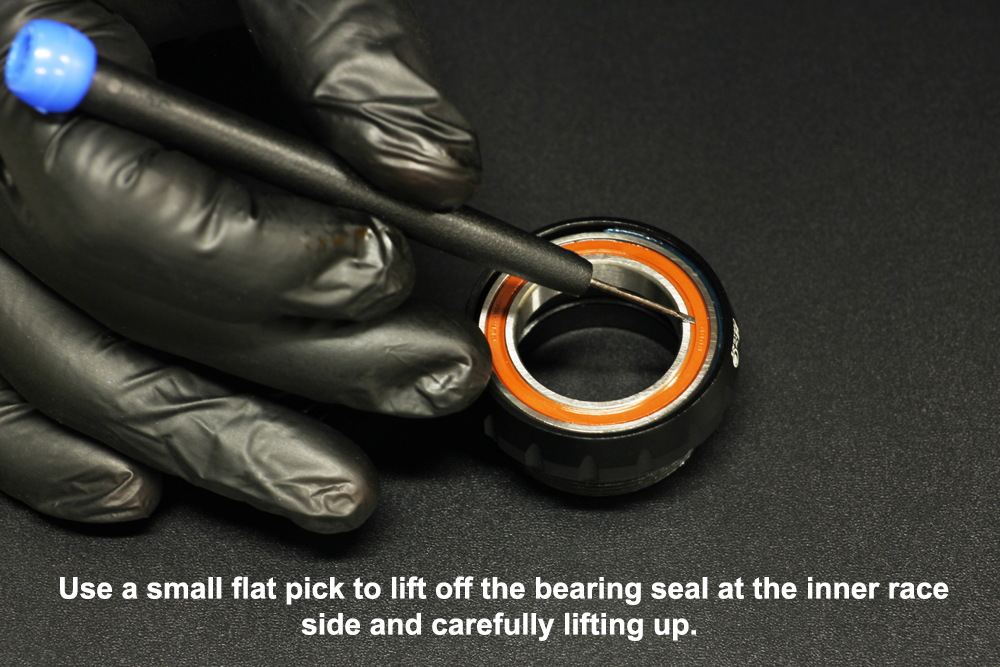
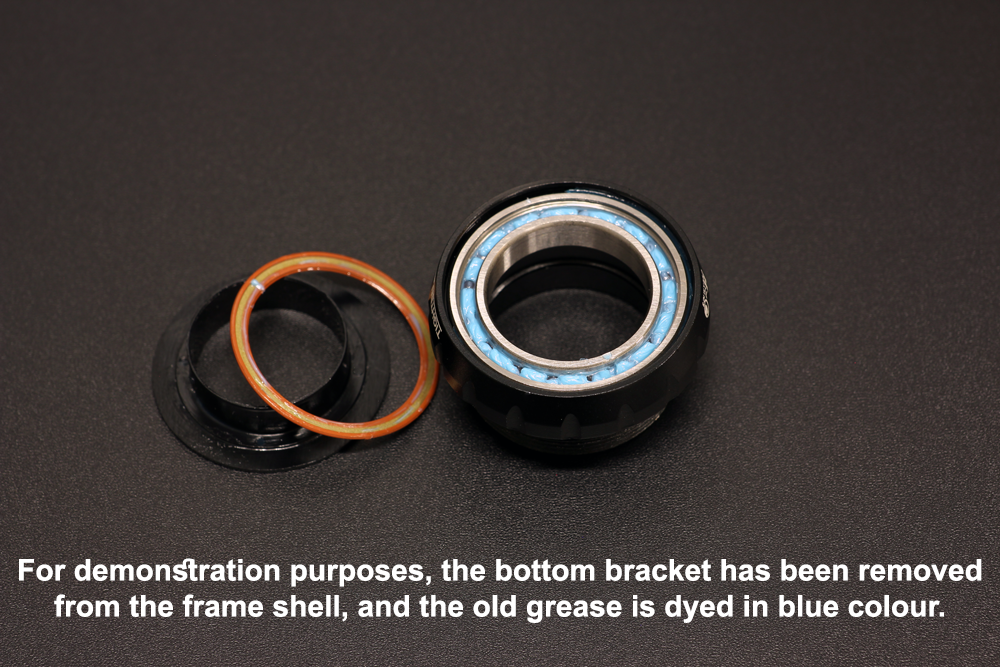
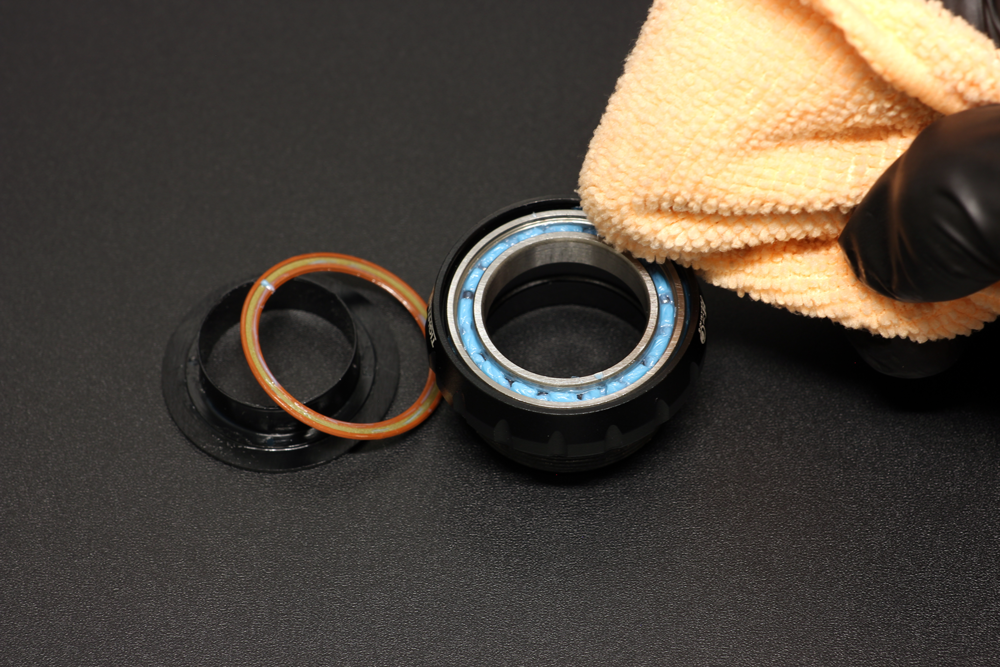
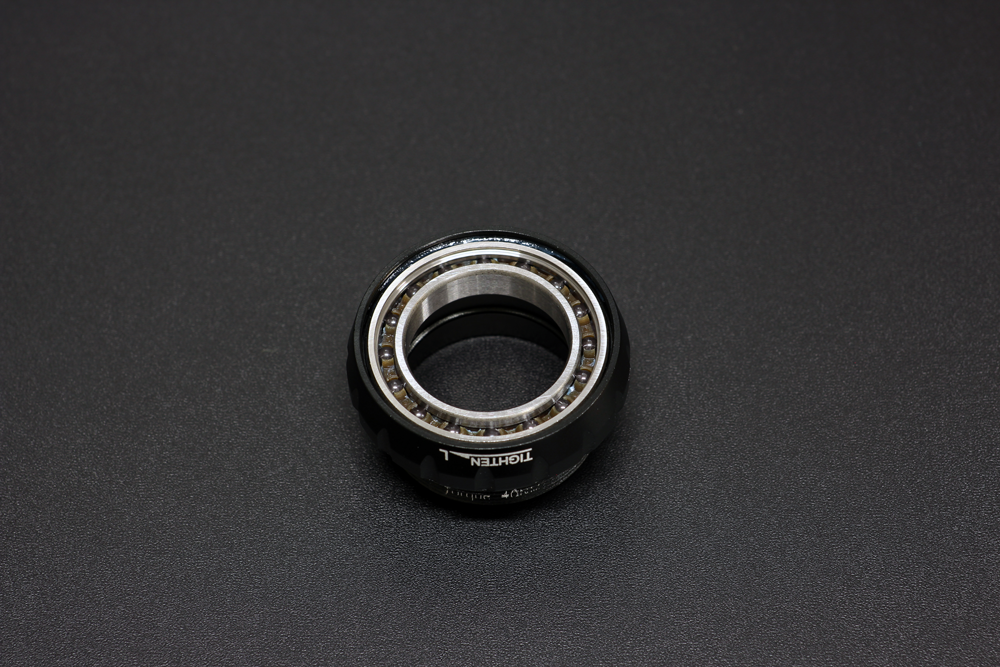
Bottom Bracket and Wheel Bearings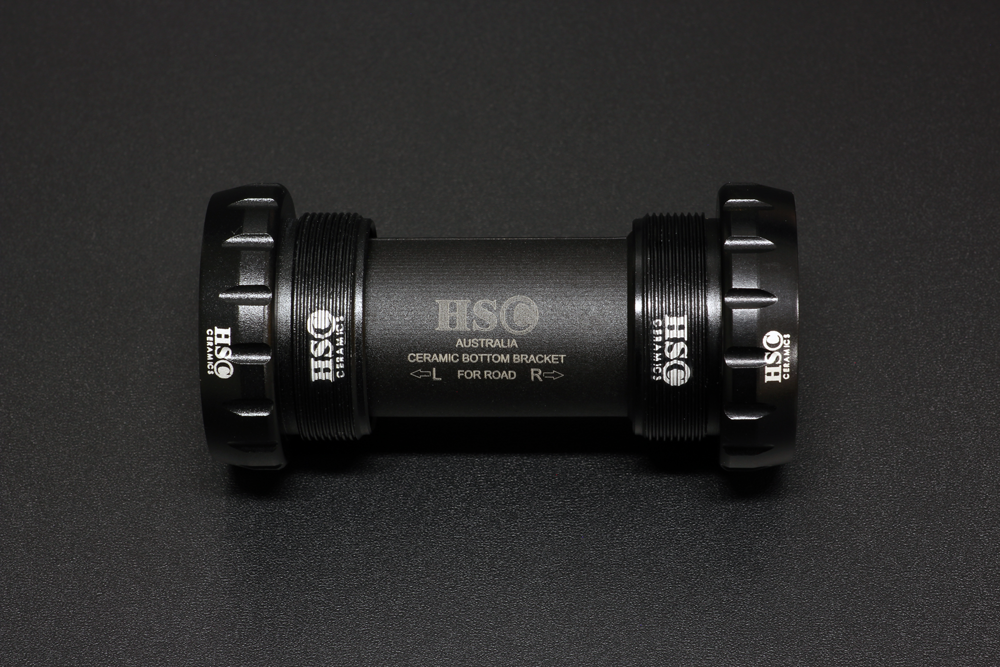


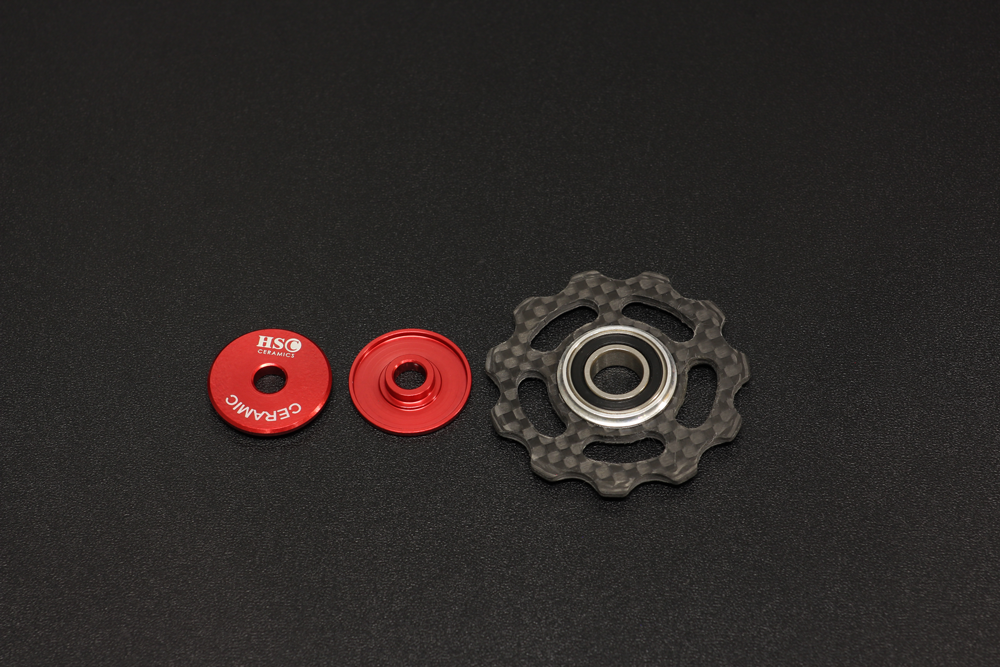
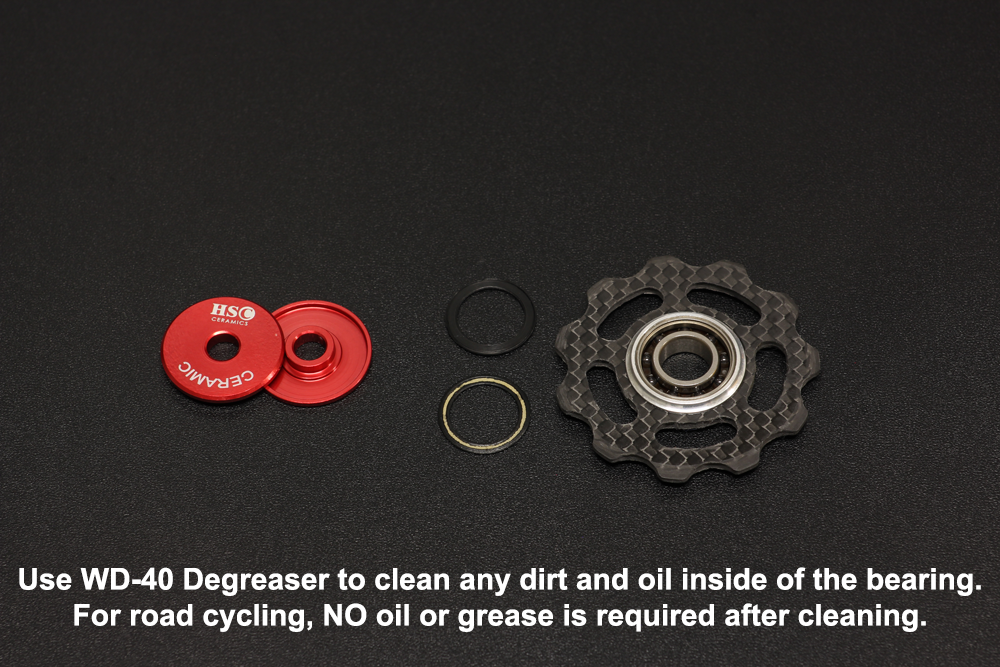
Jockey Wheel Bearing
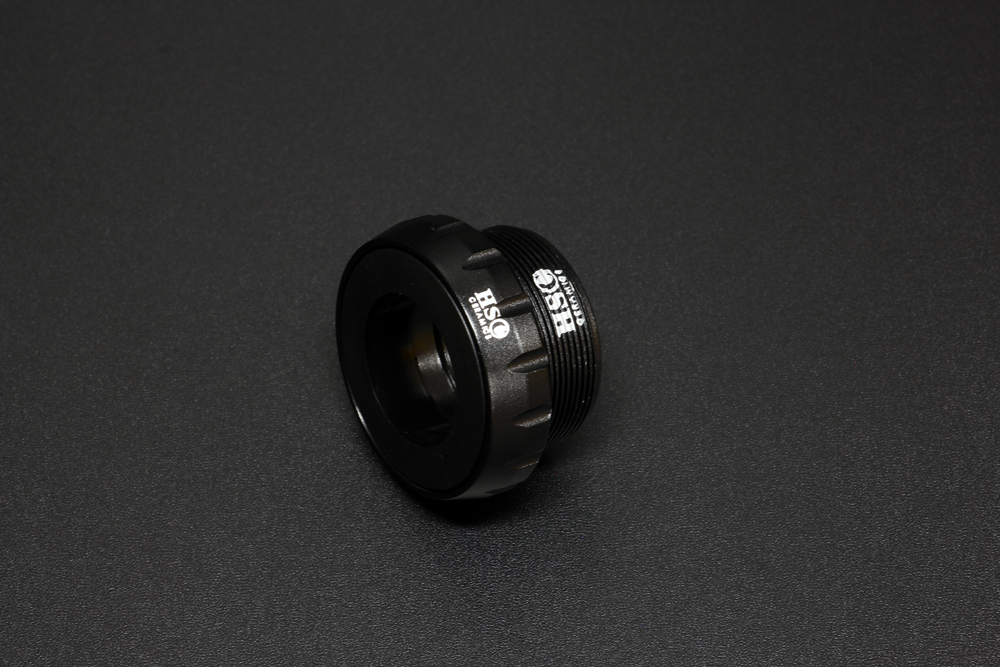
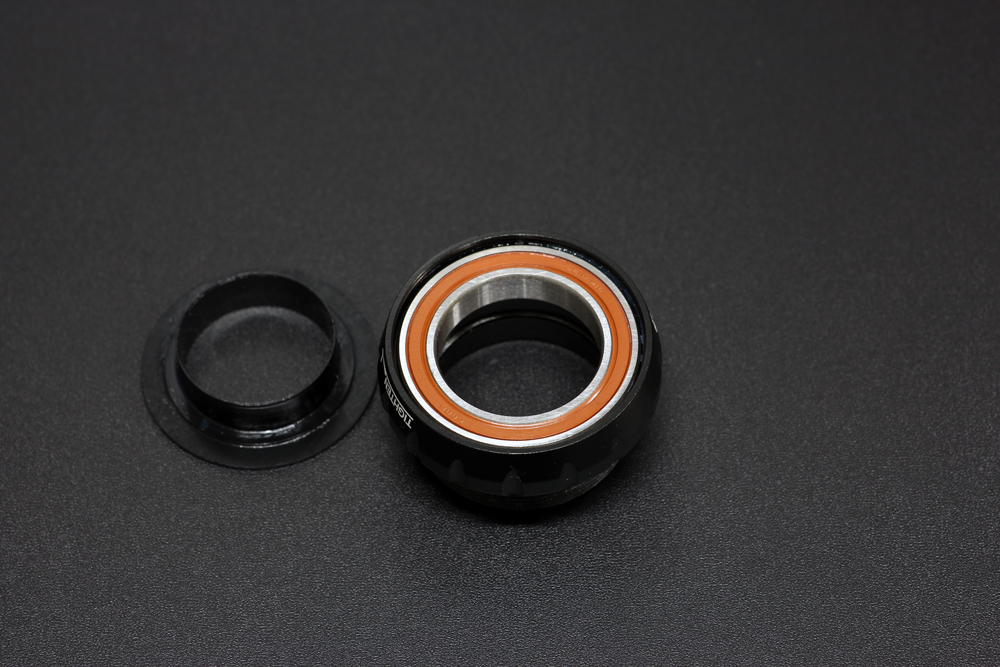
Disassemble the GXP Adapter
To remove the "non-drive" side GXP adapter from the bottom bracket, you will need to follow these steps.
Firstly, refer to the above drawing that illustrates the assembly of the GXP adapter. The adapter is made up of two parts, a black outer shim, and a silver inner shim.
To begin with, use a small flathead screwdriver to lift the black shim, position the screwdriver at the blue arrow pointed and gently wiggle the tip until it catches the edge. Apply upward pressure to the screwdriver, keeping it in contact with the shim, and continue to lift until the shim is free from its position. Be careful not to apply too much pressure or force, as this could damage the shim or the surrounding components.
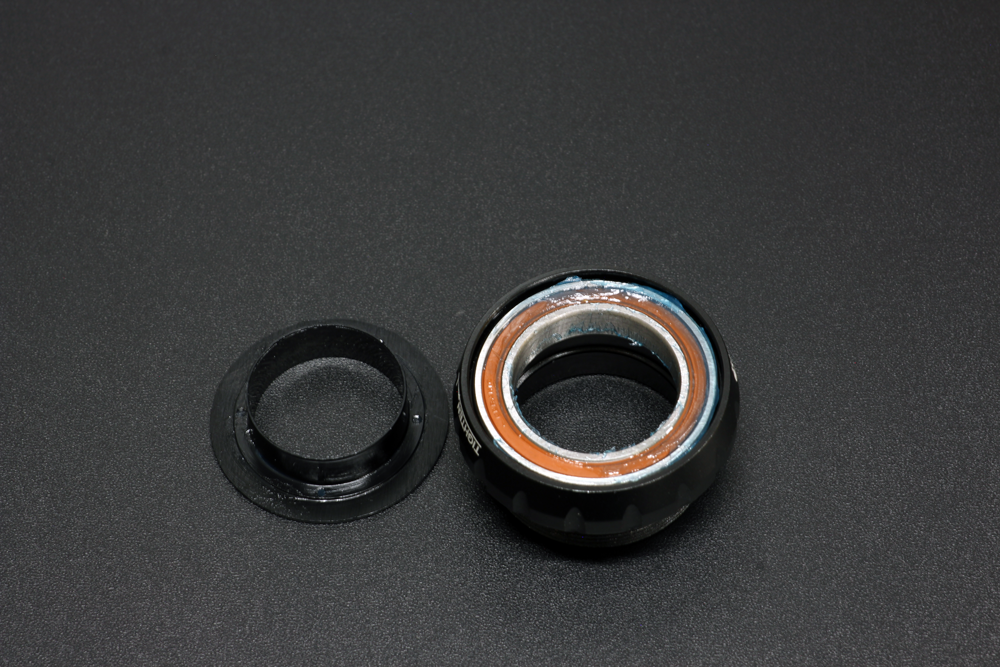
After removing the black shim, you can push the silver shim off in the direction of the green arrow.
Once you have removed both the black and silver shims, you can then remove the plastic dust cover as instructed before and access the bearing on the non-drive side.